Thursday, August 14, 2014

Ice Dyeing

Ok, I'm going to get straight to the point, because I am sick and don't feel up to going into deep details, on how to Ice Dye!
 
Things you will need: 100% Cotton material, Washing soda, Rubber gloves, One bucket for soaking and one bucket with a lid for dyeing, a cookie cooling rack, 4 empty glass bottles (mine were root beer bottles), Vinegar, and Dye of your choice (preferably powdered).
 
Step 1. Mix 16 cups HOT water and 1 cup washing soda in a bucket and soak your material for 20 mins. 
 
 Step 2. While you are soaking your fabric, get your other bucket ready. I used a 29qt lidded one from Target (makes my life easier because then I don't have to find plastic each time I dye, to cover it).

(my 4 empty bottles) 
 Set up your bucket like this with the cooling rack sitting on top of your bottles so that there is room for it to drip and not soak. Note: the color at the bottom is just from a previous dye job:)
 Tada!
 After the fabric is done soaking, put on your rubber gloves and squeeze out excess water and crumple the way you want on the cooling rack.
 Top with crushed ice (lots).
 Add your dye, with a spoon, wherever you want. I tried the liquid dye and don't recommend it as the point is to let the dye gradually melt into the fabric. I used 5 different colors.
Make sure to wear some type of face mask so you don't breathe it in! (little one was at top of steps, so he didn't need a mask). :)
 Put lid on and cover for 24+ hours...I forgot about mine and let it sit for 36hrs:)
1. Rinse in running cold water until water runs clear.
2. Put in rinse cycle with detergent and hot water.
3. Put on regular cycle with vinegar to hold the color.


Tada!

Thursday, November 7, 2013

Super Easy (from scratch) Cranberry Sauce

I wanted to make my own cranberry sauce this year that was free from chemicals that the sauce from a can comes with, and that had no additives whatsoever, and was surprised at how easy it was to make and how delicious it turned out!

Adapted and changed from this recipe HERE.


Cranberry Sauce from Scratch:

Ingredients:

  • 12 ounce bag of fresh cranberries (approx. 3 1/4 cups)
  • 1/2 cup honey
  • 1/2 tsp. Cinnamon
  • Zest of one lemon
  • 1Tbs balsamic vinegar
  • 2 tsp. fresh ground ginger
  • 1 cup water

Directions:

  1. Put everything in a pot, and turn your stove on.  
  2. Cook over a medium-high heat for approx. 30-45 minutes. DO NOT COVER or it will boil over and you don't want that. When most of the liquid is cooked out, turn your stove down to a simmer. The longer you let this simmer, the thicker the sauce will get don't let ALL the water cook out, though or it will burn. Stir more frequently near the end.
  3. Spoon all into blender and blend until smooth. Pour all contents into a dish/bowl that you want to serve it in.
  4. Allow this to cool in the refrigerator for a couple hours before eating (or eat warm, just make sure to let it cool first)!


Green Bean Casserole (Dairy/Gluten/Soy Free and from scratch!)

I was desperate! I needed a GF/DF/SF green bean casserole recipe for Thanksgiving this year, and luckily I found the best recipe EVER and adapted it to meet my nutritional needs! Plus, it's amazing:) Honestly, this was so easy and good, I will never make it another way again!

Recipe adapted and changed from recipe HERE.

Green Bean Casserole:
  • 3 Tbs Olive Oil
  • 1/4 C + 2 Tbs Coconut Oil (include approx. 1 tsp salt in this oil)
  • 10 button mushrooms, chopped fine
  • 3 Tbs gluten free flour
  • 1 tsp pepper
  • 1 tsp salt
  • 1 1/2 C chicken bone broth (or plain old chicken broth or vegetable broth)
  • 2 Big handfuls of green beans (more or less), chopped to 1 inch pieces

Topping:
  • 3/4 C processed/chopped almonds
  • 3/4 C gluten free bread crumbs, ready made.
  • 2 Tbs Coconut oil
  • 1/2 tsp salt
                                        
    Directions:
  1. Rinse and drain green beans. Chop to 1" pieces. Place in 9"x9" baking pan and set aside.
  2. Add olive oil to a medium saucepan or small pot. Add coconut oil and salt mixture, and heat on medium-high for about 5-7 min.
  3. Finely chop mushrooms and add to the coconut and olive oil mixture. Heat until mushrooms darken and shrink.
  4. Remove from heat. Add three tablespoons of flour and mix together.
  5. Add 1 1/2 cups of broth, salt, pepper (and any other spices you'd like), and heat on medium-high again until somewhat reduced. Add additional flour for a thicker sauce/soup.
  6. Pour over green beans and heat in the oven at 350°F for 30 minutes.
  7. Sprinkle topping on top, evenly, and bake an additional 5-10 minutes.
PS I took the onions out of the original recipe, but honestly didn't even miss them, the casserole was THAT good:)

Sunday, October 16, 2011

Hand Knit Pumpkin and Decor Balls:)

I've been busy these past two nights! Trying out a new way to make pumpkins-knitting! Also, gathering beautiful scraps of fabric for these decor balls:)

Click on the pictures for the listing and more pictures!


Saturday, September 10, 2011

Pumpkins, Pumpkins, Pumpkins!

Been busy today! Click on the picture to see more pictures of these adorable pumpkins! Perfect for fall home decor! Great little decorations for "next to the computer" cheer!

Monday, September 5, 2011

100% Silk Purple Pumpkin


 I just got done making this beautiful 100% silk fabric pumpkin. Isn't it cute? It is now for sale in my etsy shop!

If you would like a pumpkin in a different color and fabric, feel free to let me know and I will be happy to make it for you!

DIY Upcycle a Pillow and make a Cover for it!


I got new pillows for my bed, yet I didn't have the heart to throw out good, old pillows...
This is a simple and easy tutorial to upcycle a pillow into new glory.
PS its the one with lace on the end of it on the left:)


Step one get a pillow.
 Step two-cut an opening in the side of the pillow.
 Step 3- cut your pillow in half and put one half back in the pillow case.
 Step 4- sew your pillow case shut, next to the pillow (ps this is harder than it looks but is possible!).
 Step 5- cut some fabric-
  • Cut 1 of 13.5" x17"-Linen
  • Cut 2 of 9.25" x17"-Linen
  • Cut 2 of 2" x17"    --Lace AND Linen (1 of each)
  • Cut 4 of 2" x9.25" --Lace AND Linen (2 of each)
 Step 6- take your linen and lace 2 inch widths and put them together.
 Step 7- Sew your lace and linen strips to each of your 3 linen pieces.
 Step 8- Iron the seams flat towards the linen and lace 2 inch sides.
 Step 9- Along the tops of your pieces (excluding the front piece), you will (1) fold over and press a quarter inch, (2) fold over and press another quarter inch, and (3) top stitch along the fold to make a finished edge.
 Step 10- Put all your pieces together, right sides facing each other, and sew a quarter inch all around.
 Step 11- your finished product should look like this:
 Step 12- turn inside out and put your half of a pillow, pillow, into your cover. and tada! your finished!


I used this tutorial over at Cottage Magpie to help me along. :)

Sunday, September 4, 2011

Same Idea, Yet Better: Curtains

Ok, so about a month ago, I was completely obsessed with these curtain panels from Ballard Designs. Therein lies the problem, they were $179.00 - $229.00 PER PANEL! ...yea right, i said to myself, I can make them for way cheaper and maybe even better! These are burlap and crewel work, but I decided to go with linen since I liked the look better, and a stencil with white fabric paint!

I could not, for the life of me, find a stencil big enough or that I liked, so I bought a "make your own stencil" kit from Michaels, and printed off a design I liked the best, then traced the design onto my stencil, cut it out, and started painting...:) I only sewed the top where the rod will go through because i kind of liked the ragged look.


Here are the results! Whaddya think? I personally love them and they only cost me around $80 for the fabric, paint, and stencil! I like them SO much better, yet they still have that certain quality i liked in the Ballard ones.


Have a Happy Labor Day Weekend:)

Saturday, September 3, 2011

DIY: How To Make A Fabric Pumpkin


After seeing all the beautiful fabric pumpkins on Etsy.com, I decided that it was about time I made my own:) (I made 2 others before this, so I had practice by the time I made this). The day started out fine, I found a roll of fabric in the back of Value Village for $0.99...great price for this pumpkin if you ask me!

The stem and leaves were made of an old wool scarf that my brother used to own....

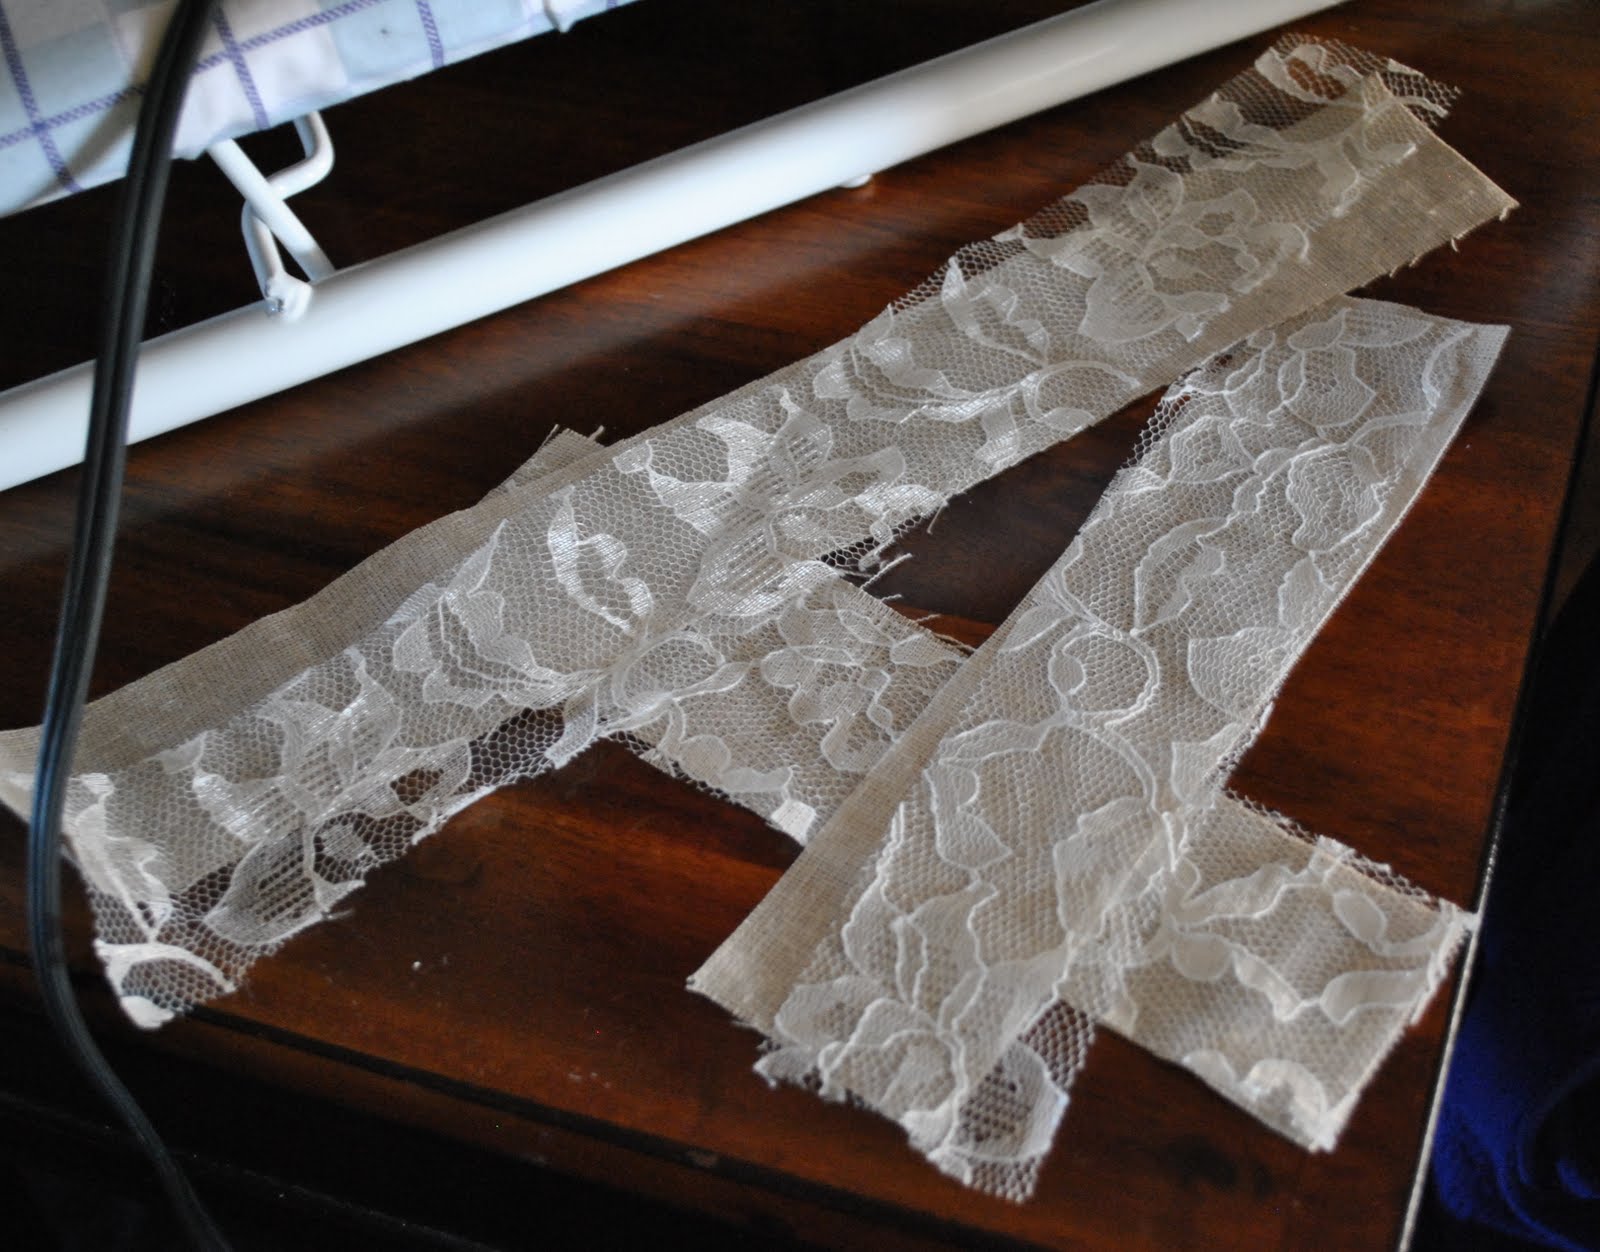
 I then cut the roll of fabric into 15" strips. The final fabric piece that you will be working with will be equal in width and length when folded in half-for instance this will be 15"x15."
 Then I sewed all the pieces together length-wise and made sure that the dimensions were correct and cut off any stray pieces to make the final piece even all 'round.
 I then sewed the two ends together so that all the long sides of the fabric were sewn together forming almost a cylinder.
 After the fabric was all sewn together, I toon some twine (you can use any rope or yarn you want, just make sure that it will hold when pulled tight) and a big needle (you will be pricked...).
 Once the twine is threaded into the needle, make a quick stitch through one of the ends of the fabric.
 Then, pull as tight as you can and tie in a double knot.
 Once you have done that, flip it inside out and stuff! Make sure that you stuff till you can't stuff anymore, then add some on top. You don't want a sad looking, deflated pumpkin...lol
 Then take some more twine and stitch through the top of the pumpkin.
 Once again, pull as tight as you can and knot it. It will look like this:
 Tie another LONG piece of twine onto the previous string (make sure it will stay when pulled tight). DO NOT CUT EITHER STRING OFF! (this will be important later).
 Then, take your threaded needle with the long string, and pull it through the OTHER end so it goes around the pumpkin.
 Pull the string up through the top and pull hard, you want the definition of a pumpkin.
 Continue to go around the pumpkin with the string in this manner, and remember to pull tight. Once you get to the end and you have gone around the pumpkin with the string as many times as you want to, tie the string to the first string you had there, into a knot.
 Then sew on your stem and leaves with the remaining twine. You can make them out of any material you like. Here I am cutting the leaves.
 TA-DA! My $0.99 pumpkin is complete! 

The tutorial that I used to help me along, was from Thompson Family Blog. She gives GREAT instructions and pictures:)